Senior Care Divi Child Theme Documentation & Support
Overview
Step 1 : Requirements
-Divi Theme
-Fresh Installation of WordPress (Recommended)
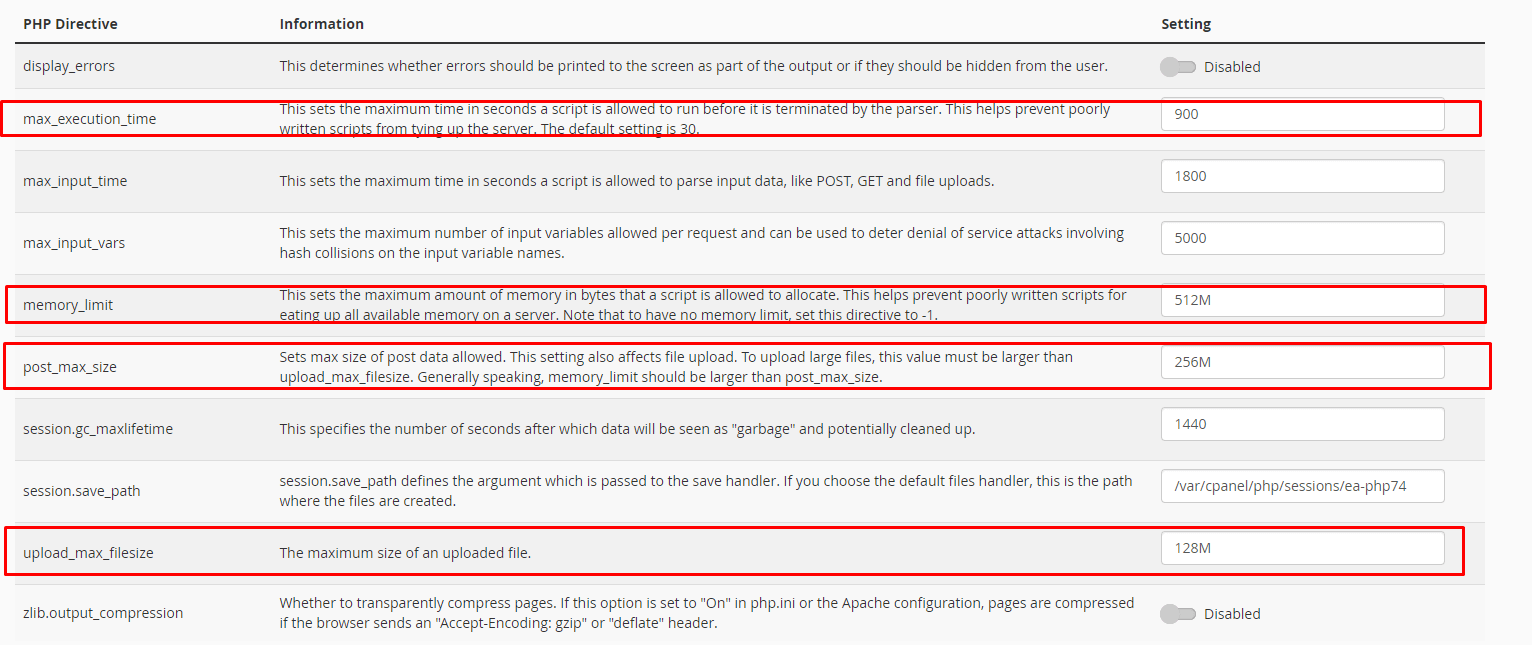
Server Requirements
-upload_max_filesize (512M or more)
-max_input_time (300 or more)
-memory_limit (512M or more)
-max_execution_time (1000 or more)
-post_max_size (512M)
Note: These are just recommended values, if you’ve got a Congrats Message in your Divi -> Support Center then you’re good to go, Please Contact your hosting support and ask them to increase these values If you don’t have a Congrats message in Divi Support Center.
Prepare Your Divi Site
Step 2 : Installing Divi Child Theme
After completing the purchase, download the child theme file to your computer. The zipped folder ends with “.zip” at the end of the filename.
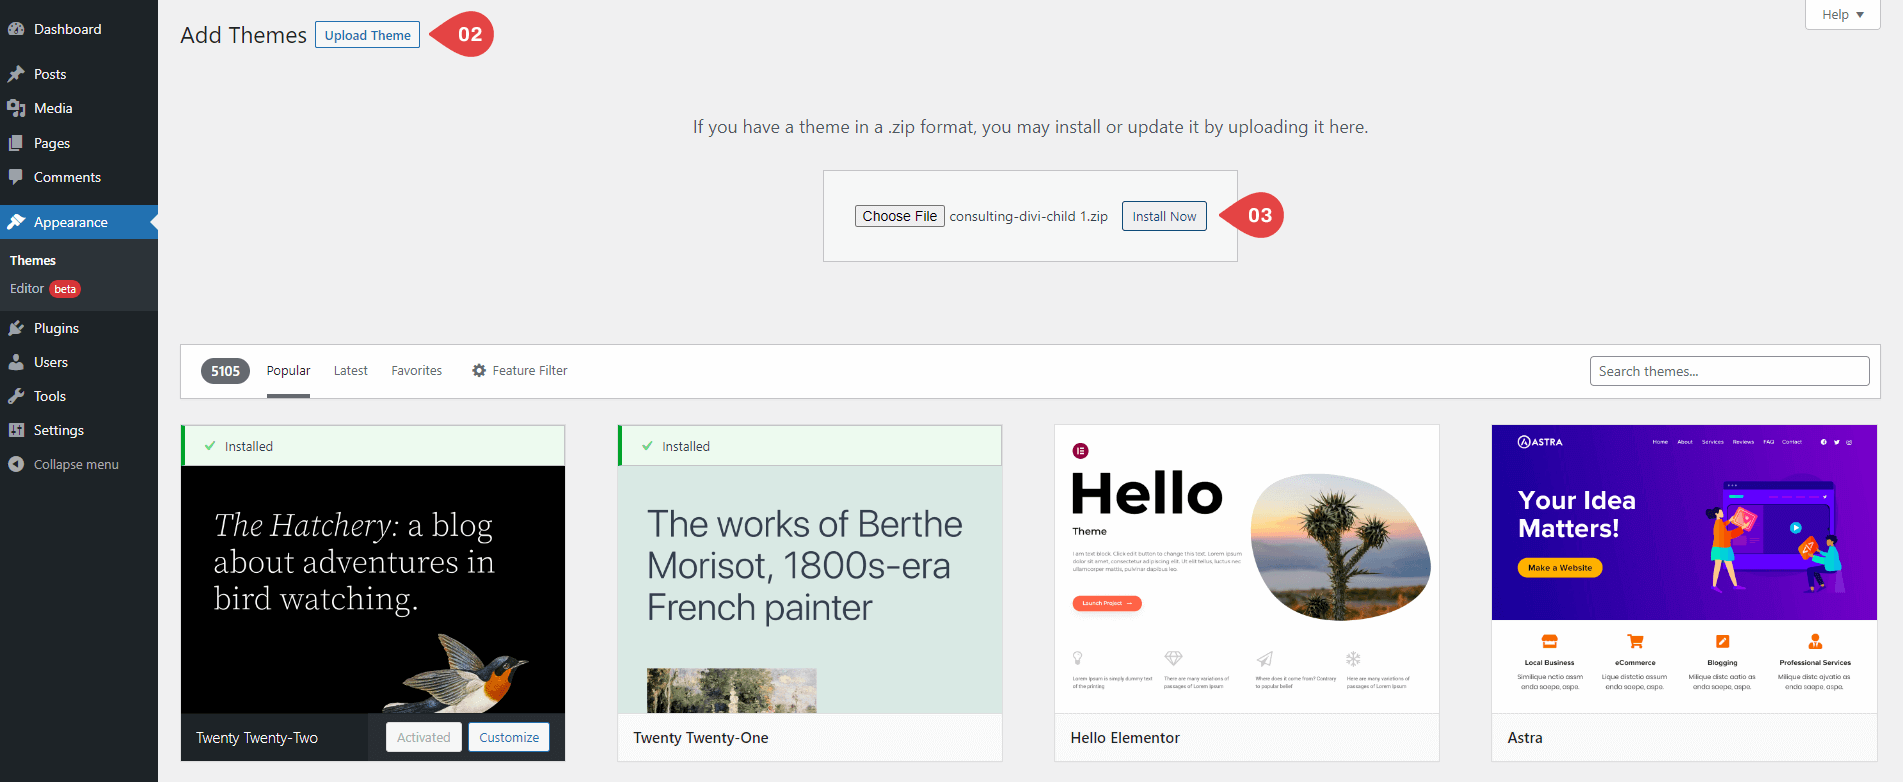
From your WordPress Dashboard, go to Appearance> Themes> Add New and click on Upload Theme. Locate the .zip file on your computer and click Install Now.
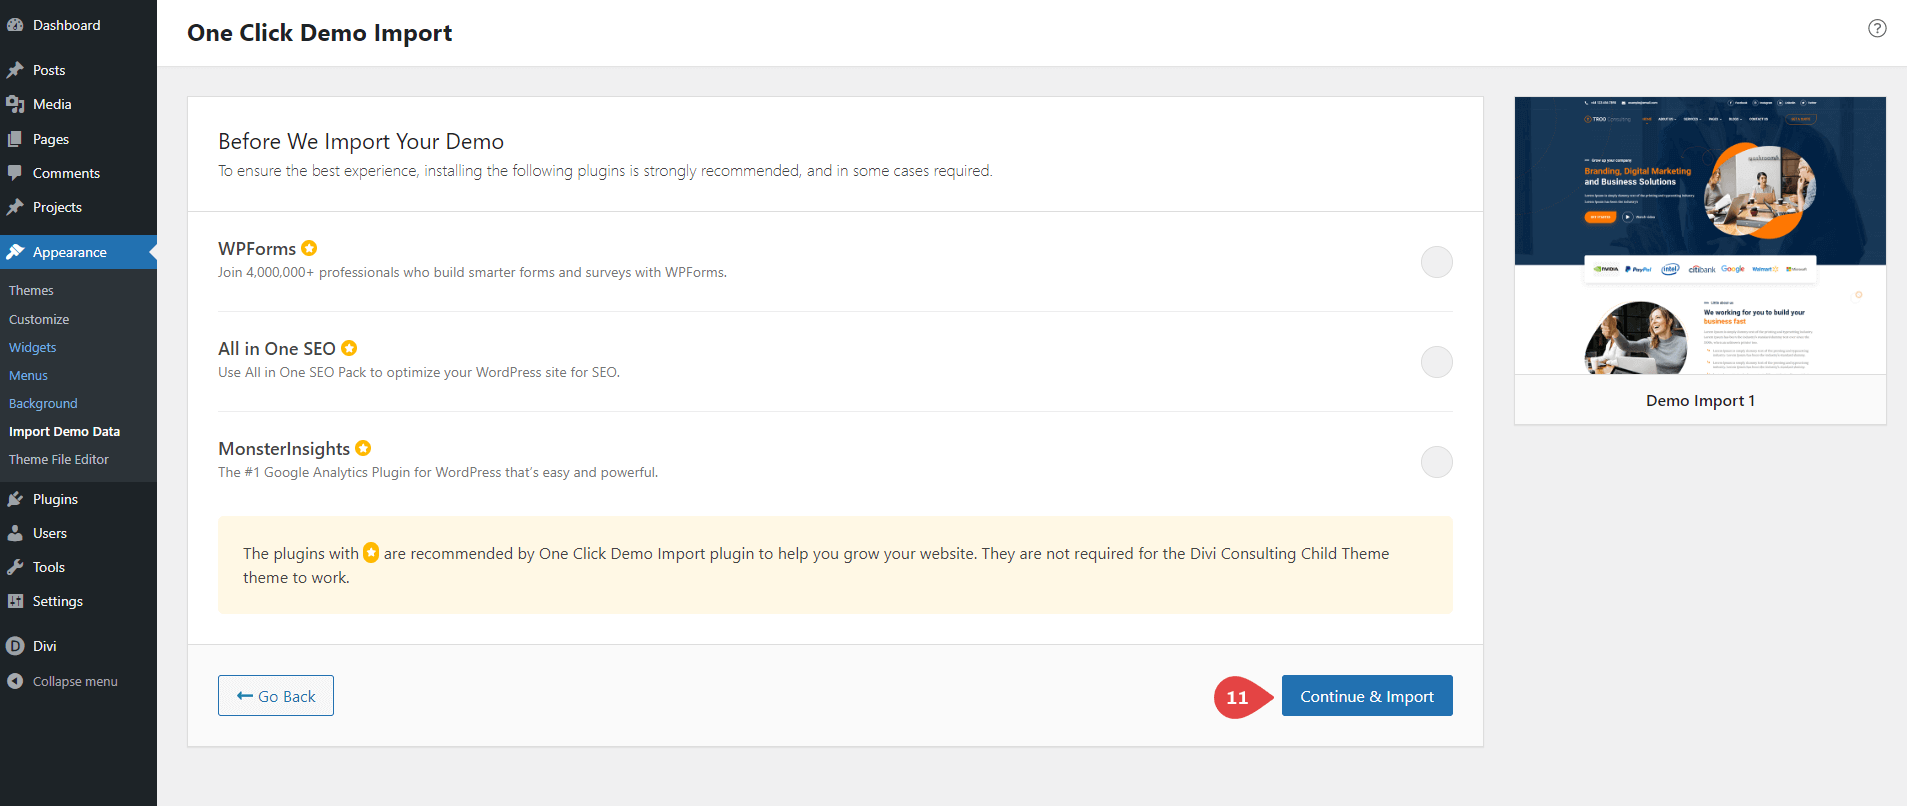
Once all the required plugins (or the ones that you need) have been activated, click the ‘Return to the Dashboard’ link.
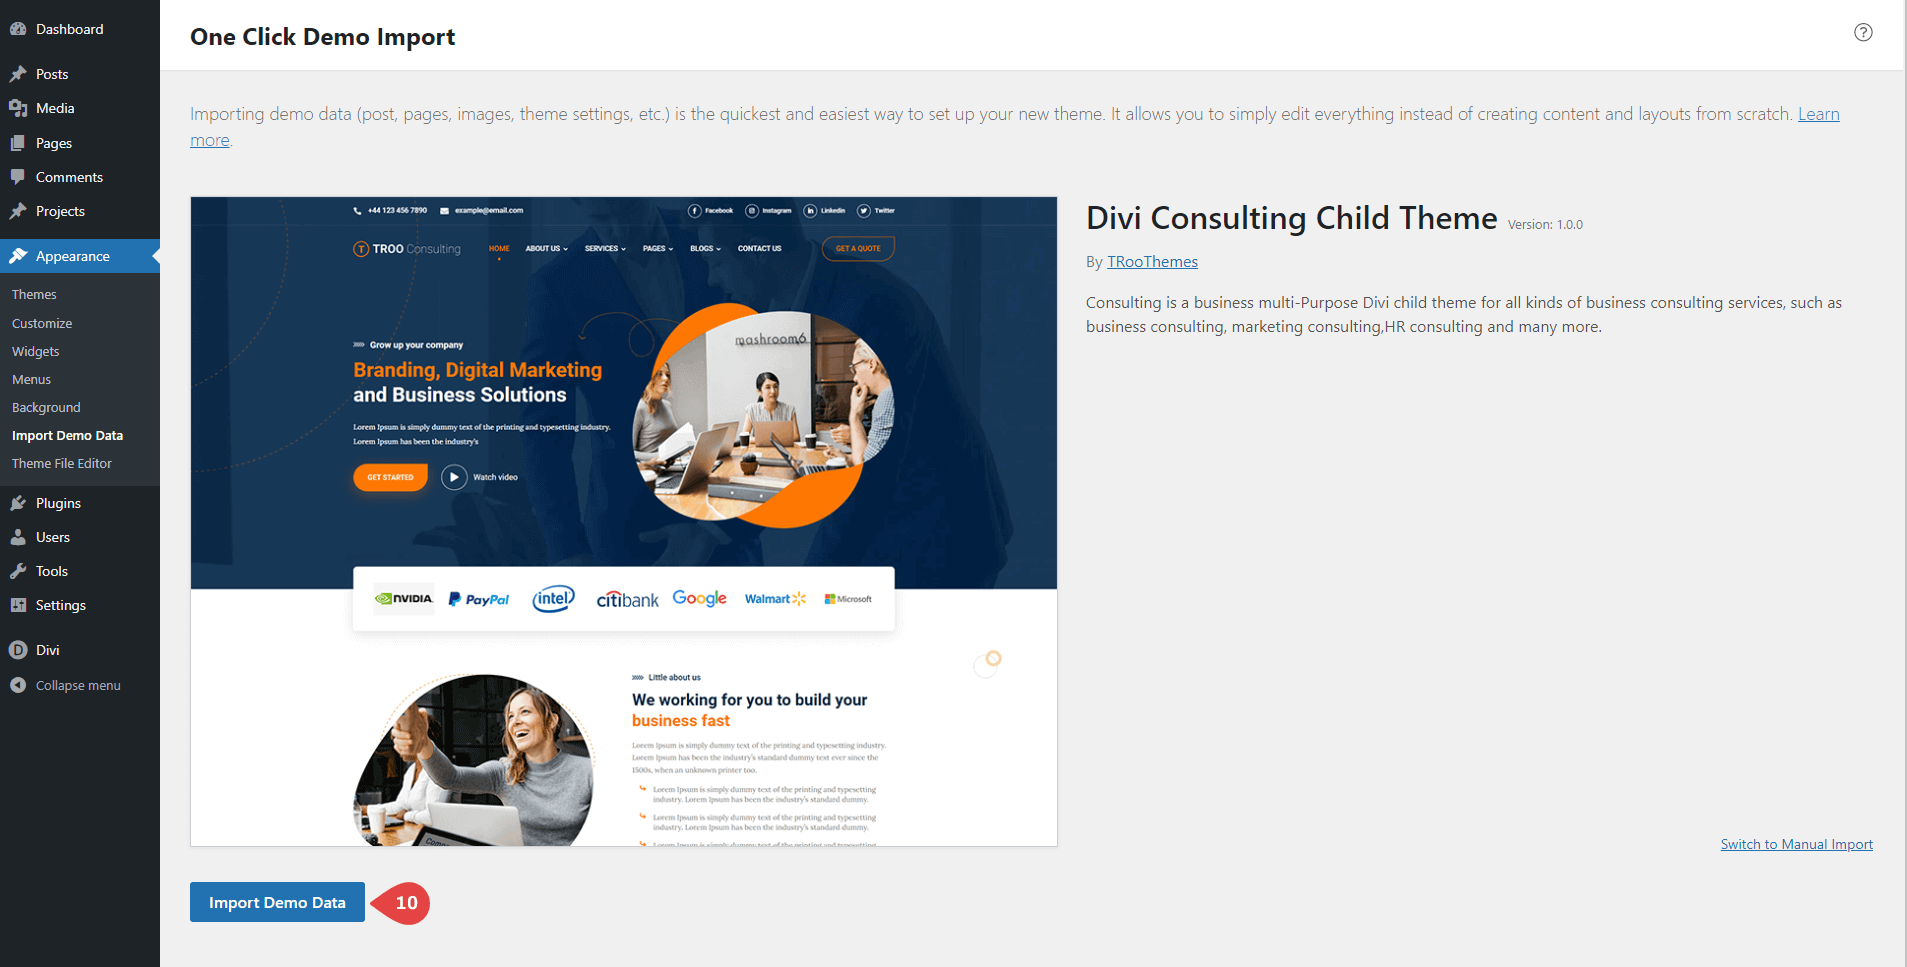
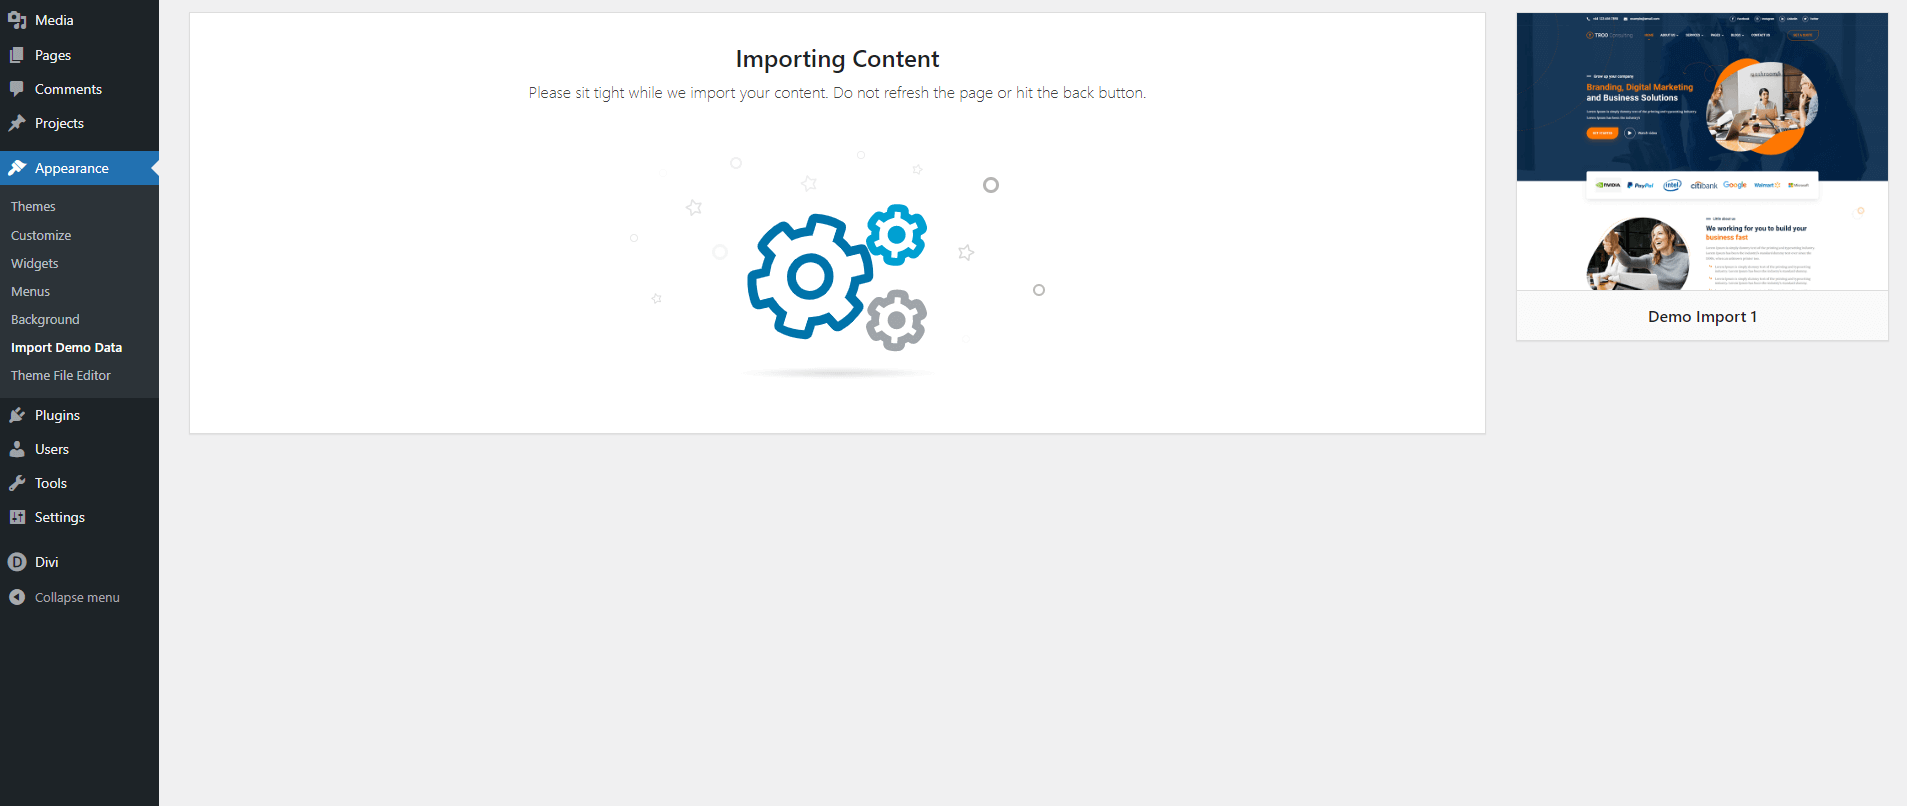
Import Demo Data :
Step 3 : Manual Upload The Json Files (2 Files) :
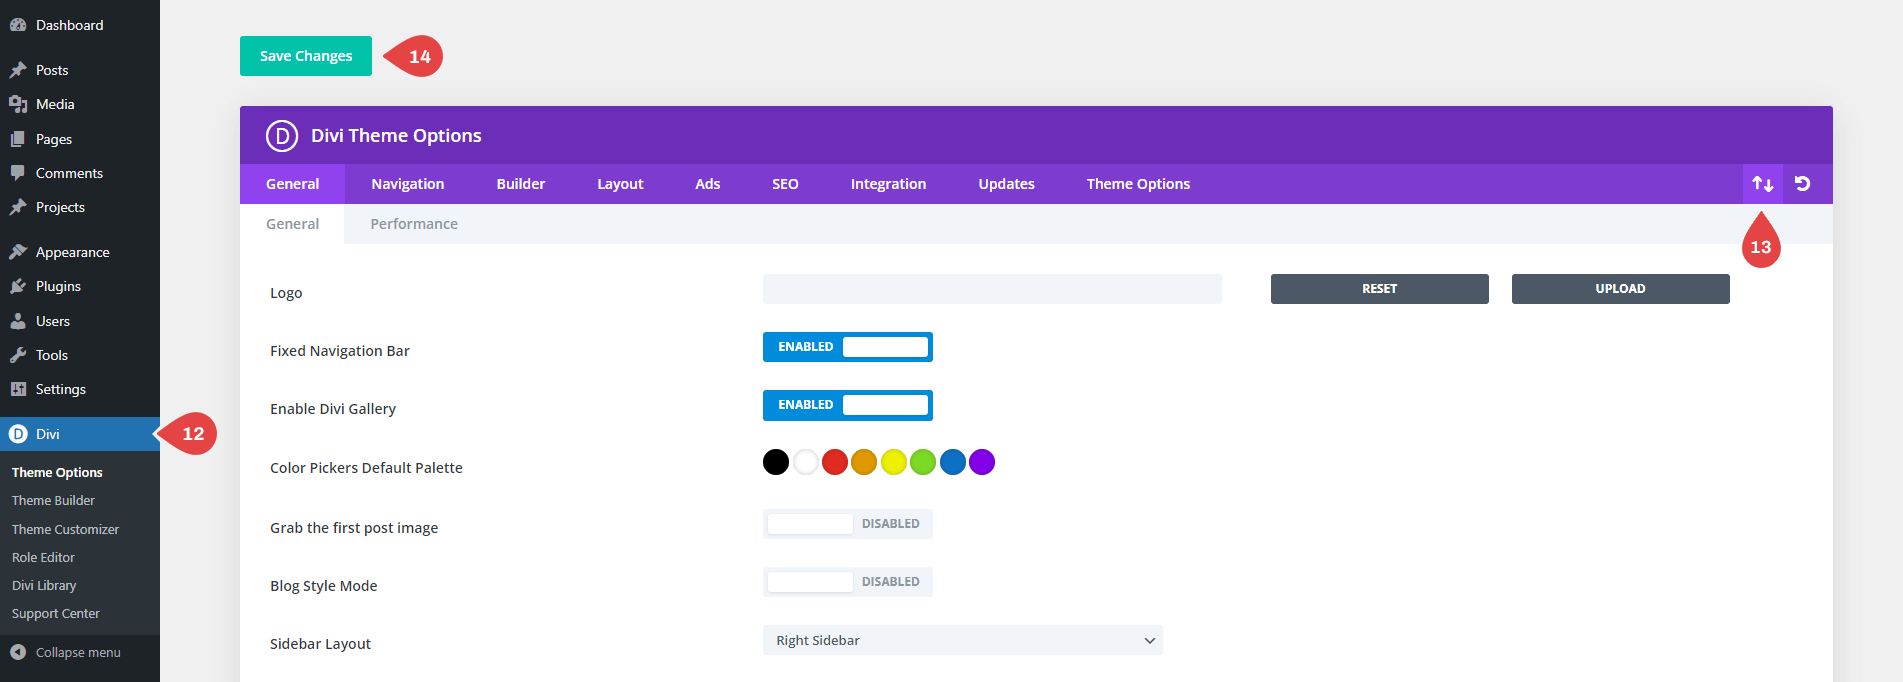
– In WordPress, go to Divi > Theme Options.
– Click Import/Export (up/down arrow).
– Click Import and upload the divi-theme-option.json file.
– Go to Divi > Theme Builder.
– Click Import/Export.
– Click Import and upload the divi-theme-builder.json file.
Customizations Slide in
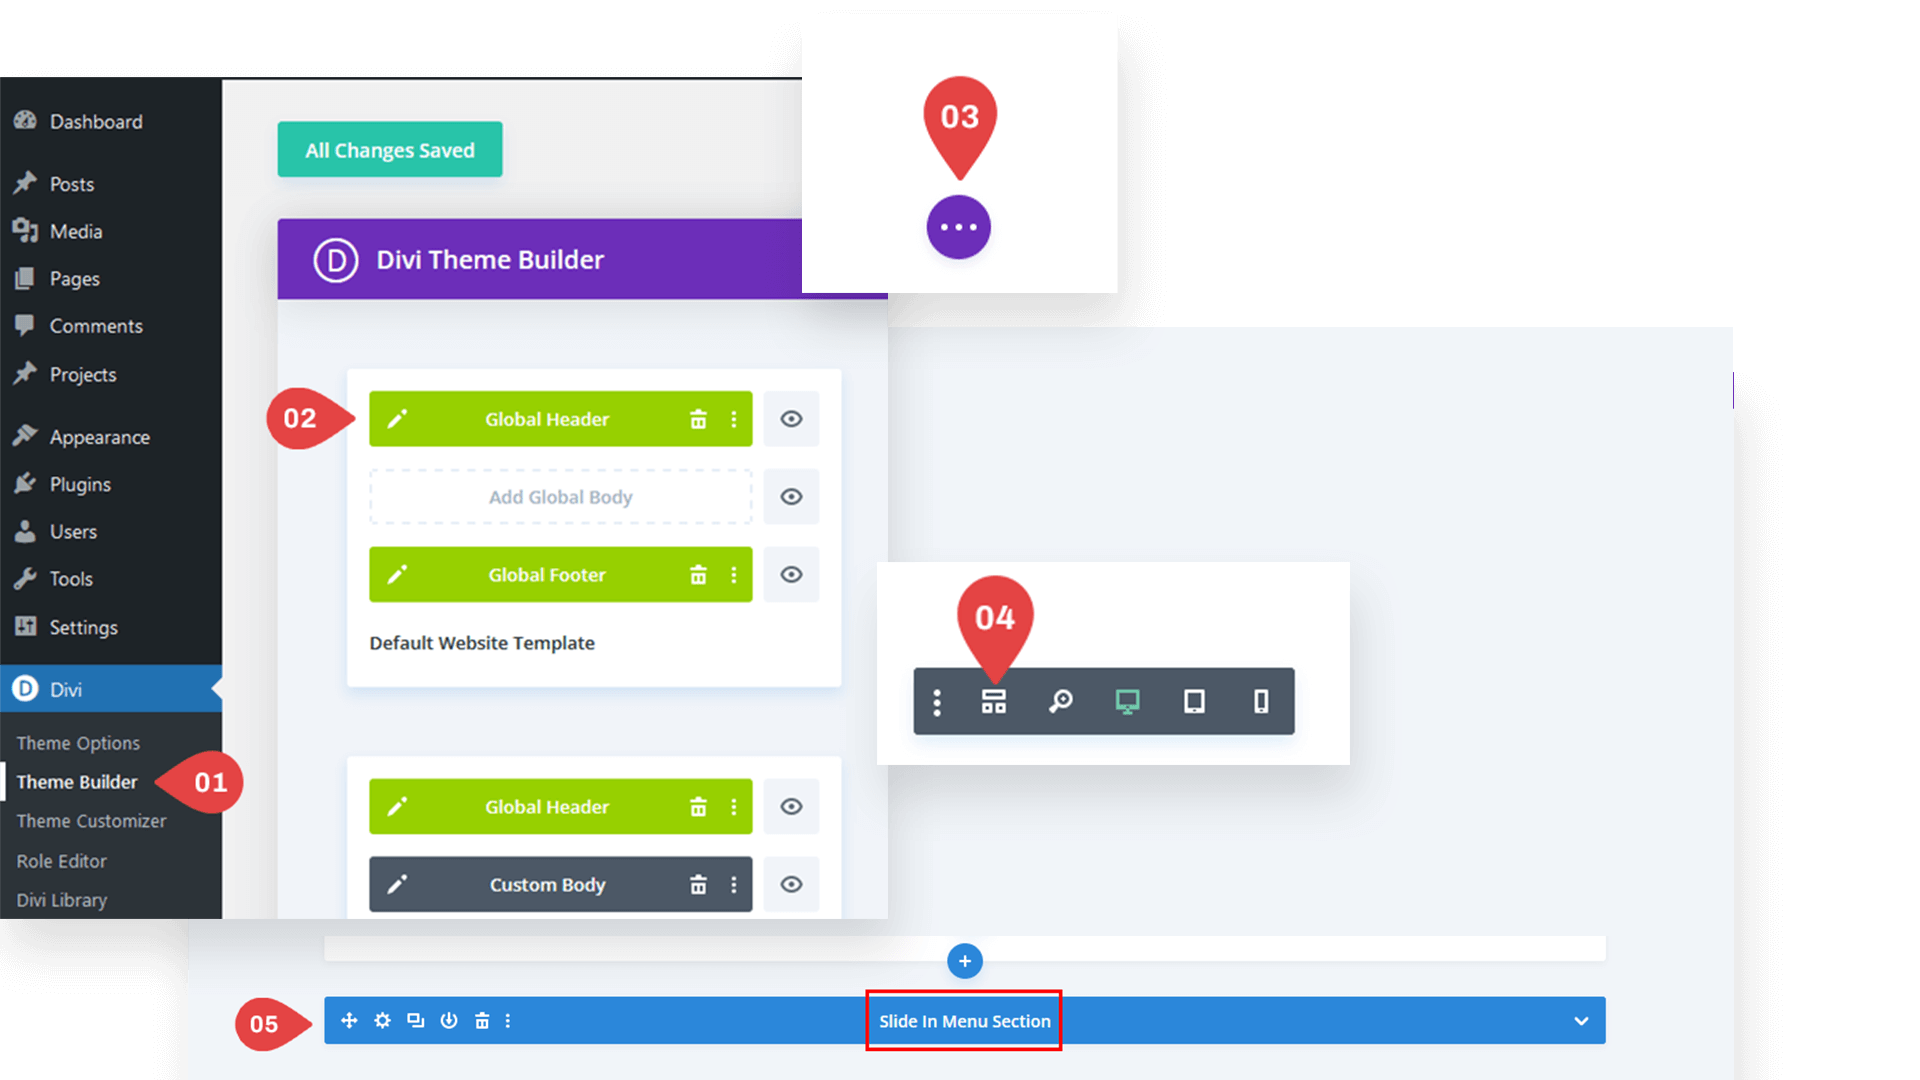
Go to Divi > Theme Builder > Global Header
Switch to wireframe view.
Under the header, you will find the slide-in.
Customizations Popup Video
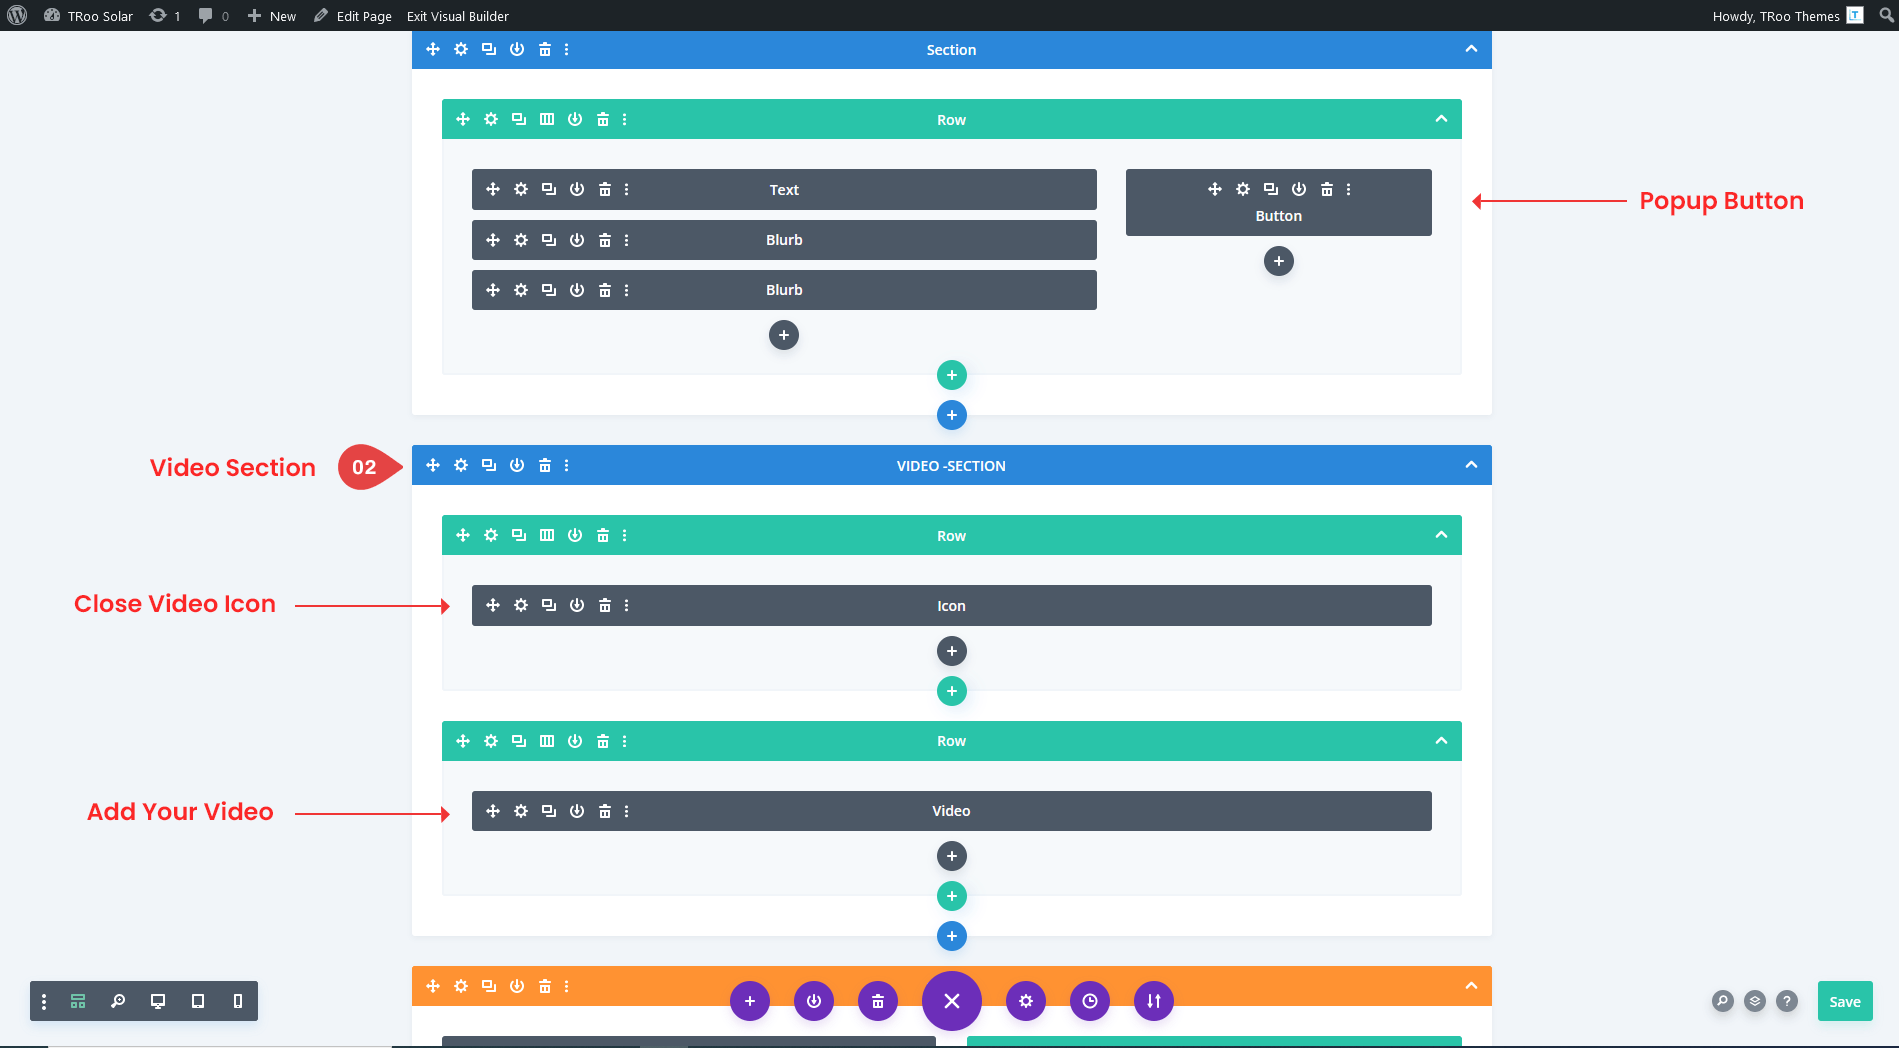
Go To Page > Click On Enable Visual Builder > switch to wireframe view
Custom TRoo Options
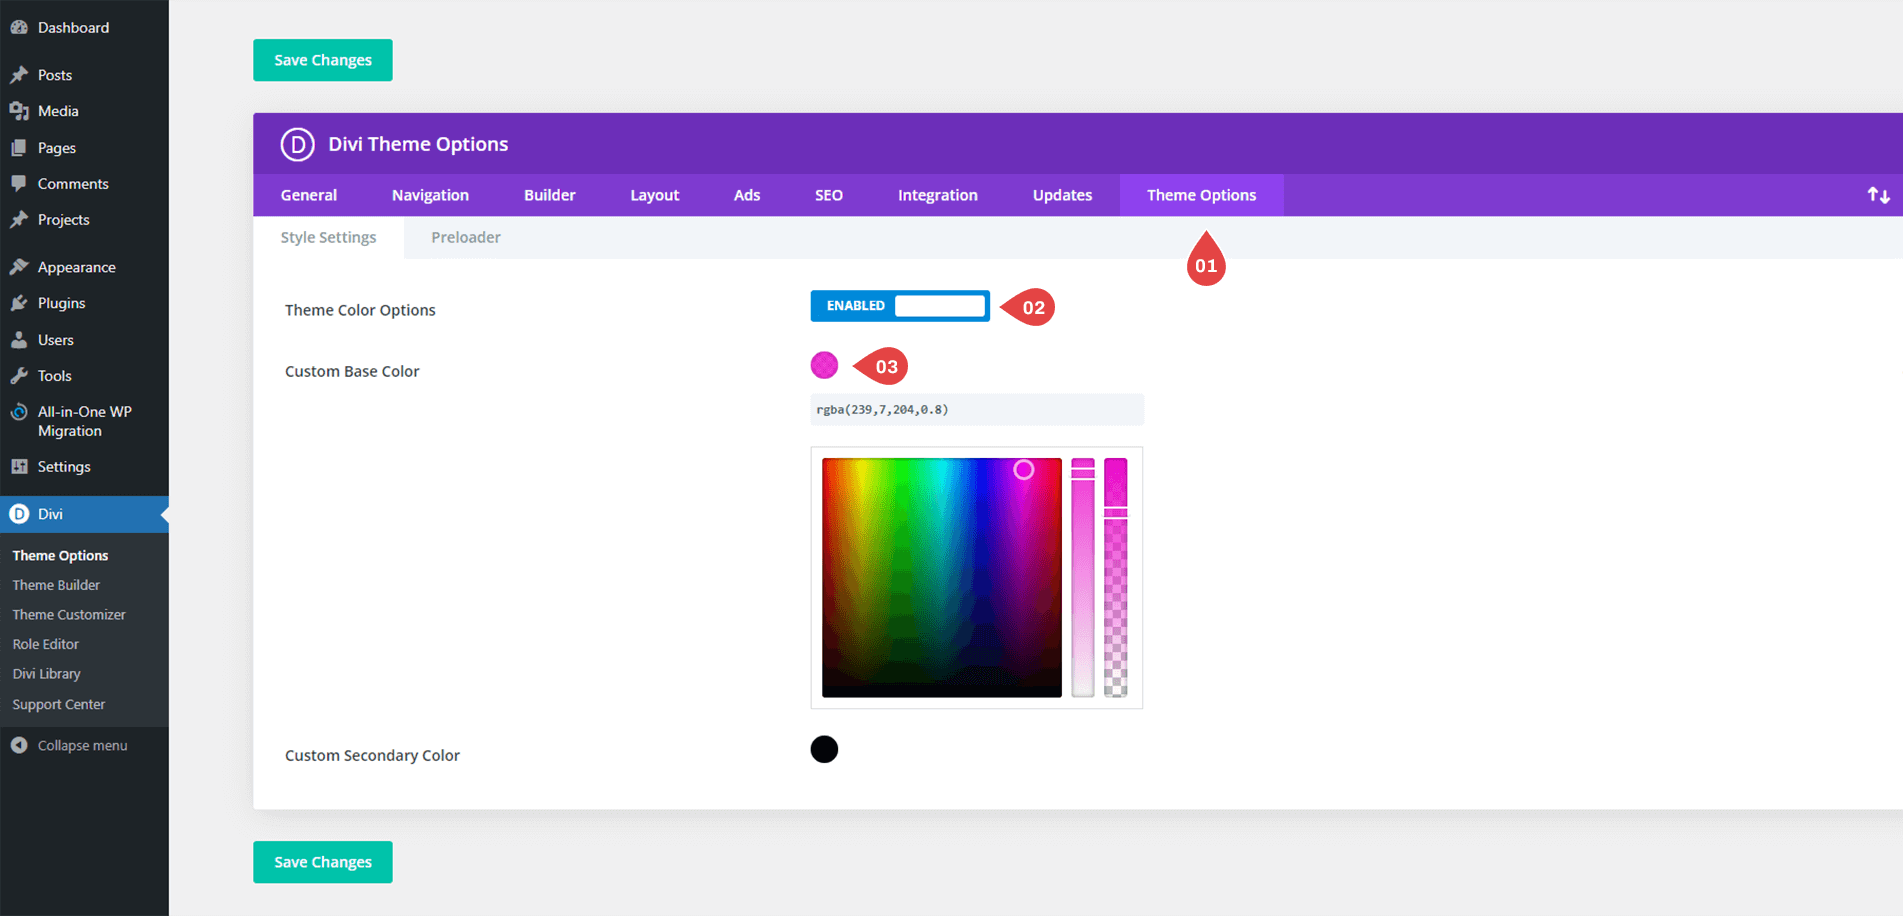
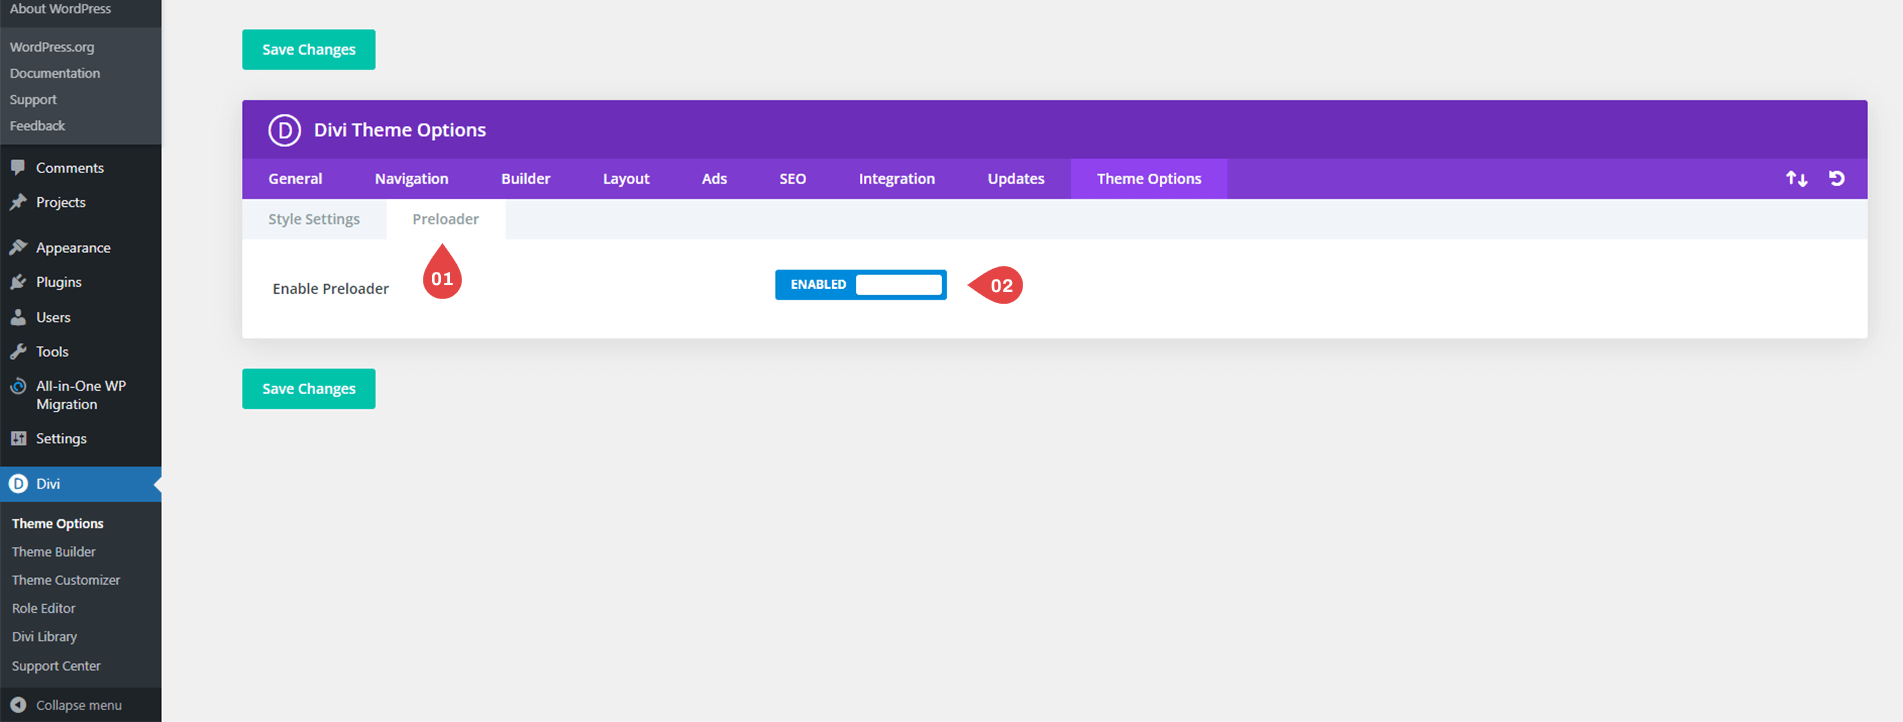
Go to Divi > Theme Options > Theme Options.
Here we have created 2 options
1) Theme Color Option (Change Color as per you choice)
2) Preloader Option (If you want change disable preload then go here)
Frequently asked questions
Problems importing the layout?
Need Any Help?
If you have any documentation related questions or need a video tutorial sooner please let us know at support@troothemes.com
