Divi Blog Section Bundle Documentation
Find step-by-step instructions in the Divi Blog Section Bundle Documentation to import, customize, and optimize your blog layouts for a better Divi experience.
File Structure
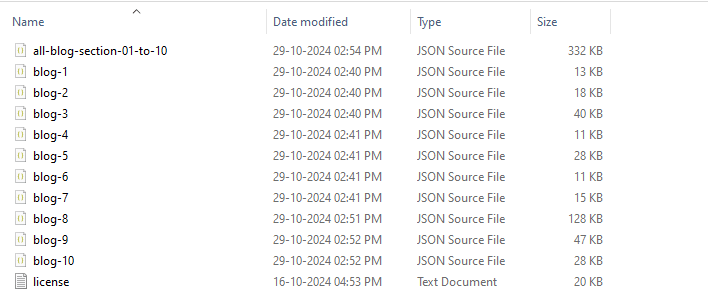
Download and unzip the folder’s troo-divi-blog-section-bundle file to your computer.
After unpacking this folder you will find see all JSON file
Step 1 : Importing Divi Library Items
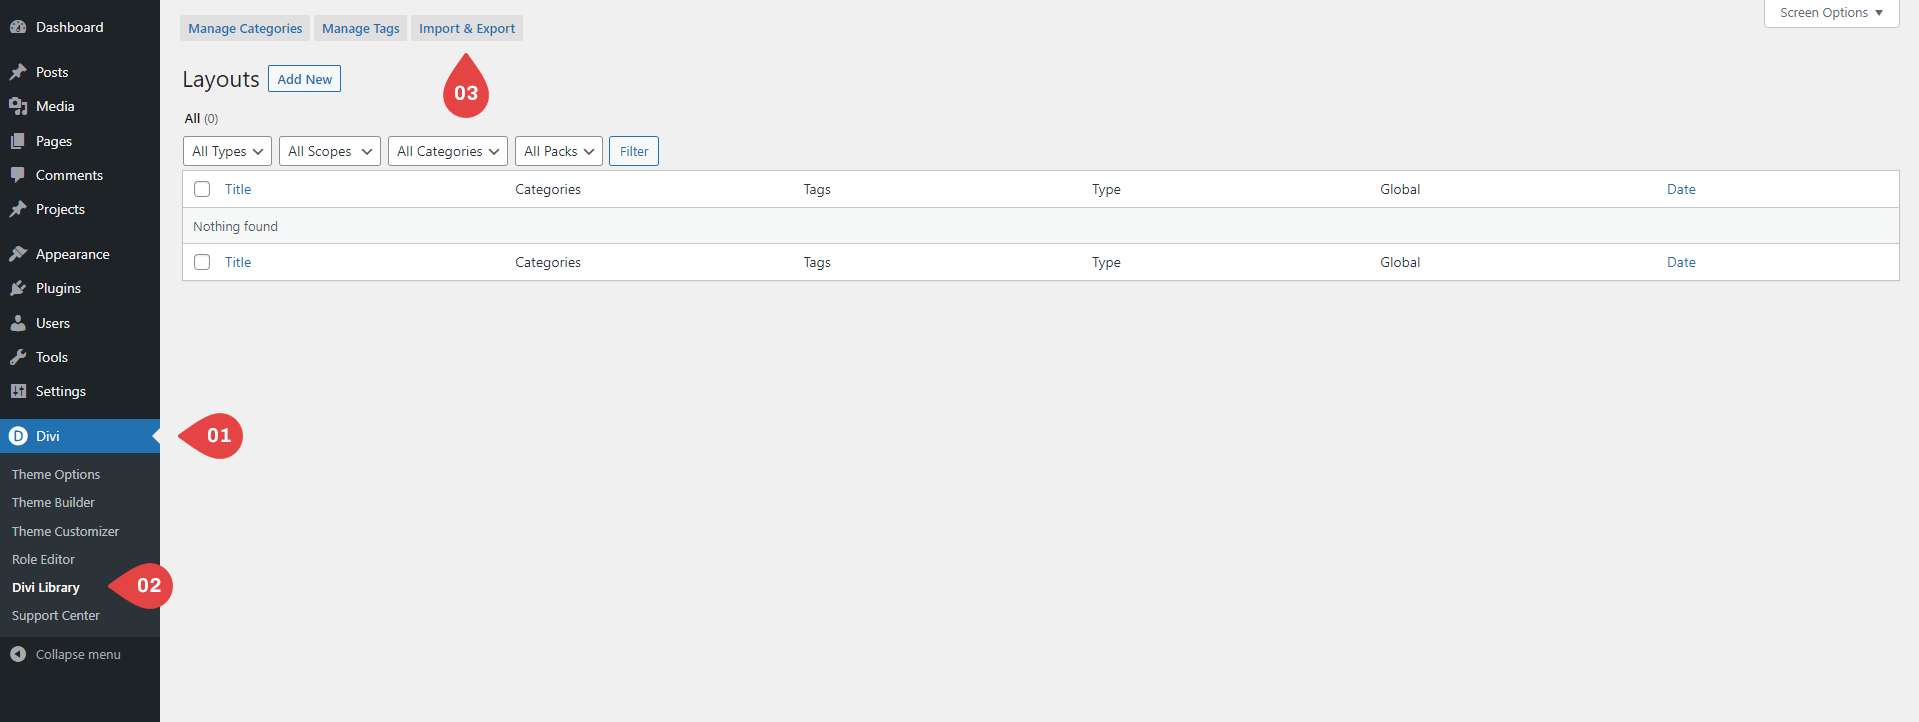
- Go to Divi > Divi Library in your WordPress Dashboard and click Import & Export.
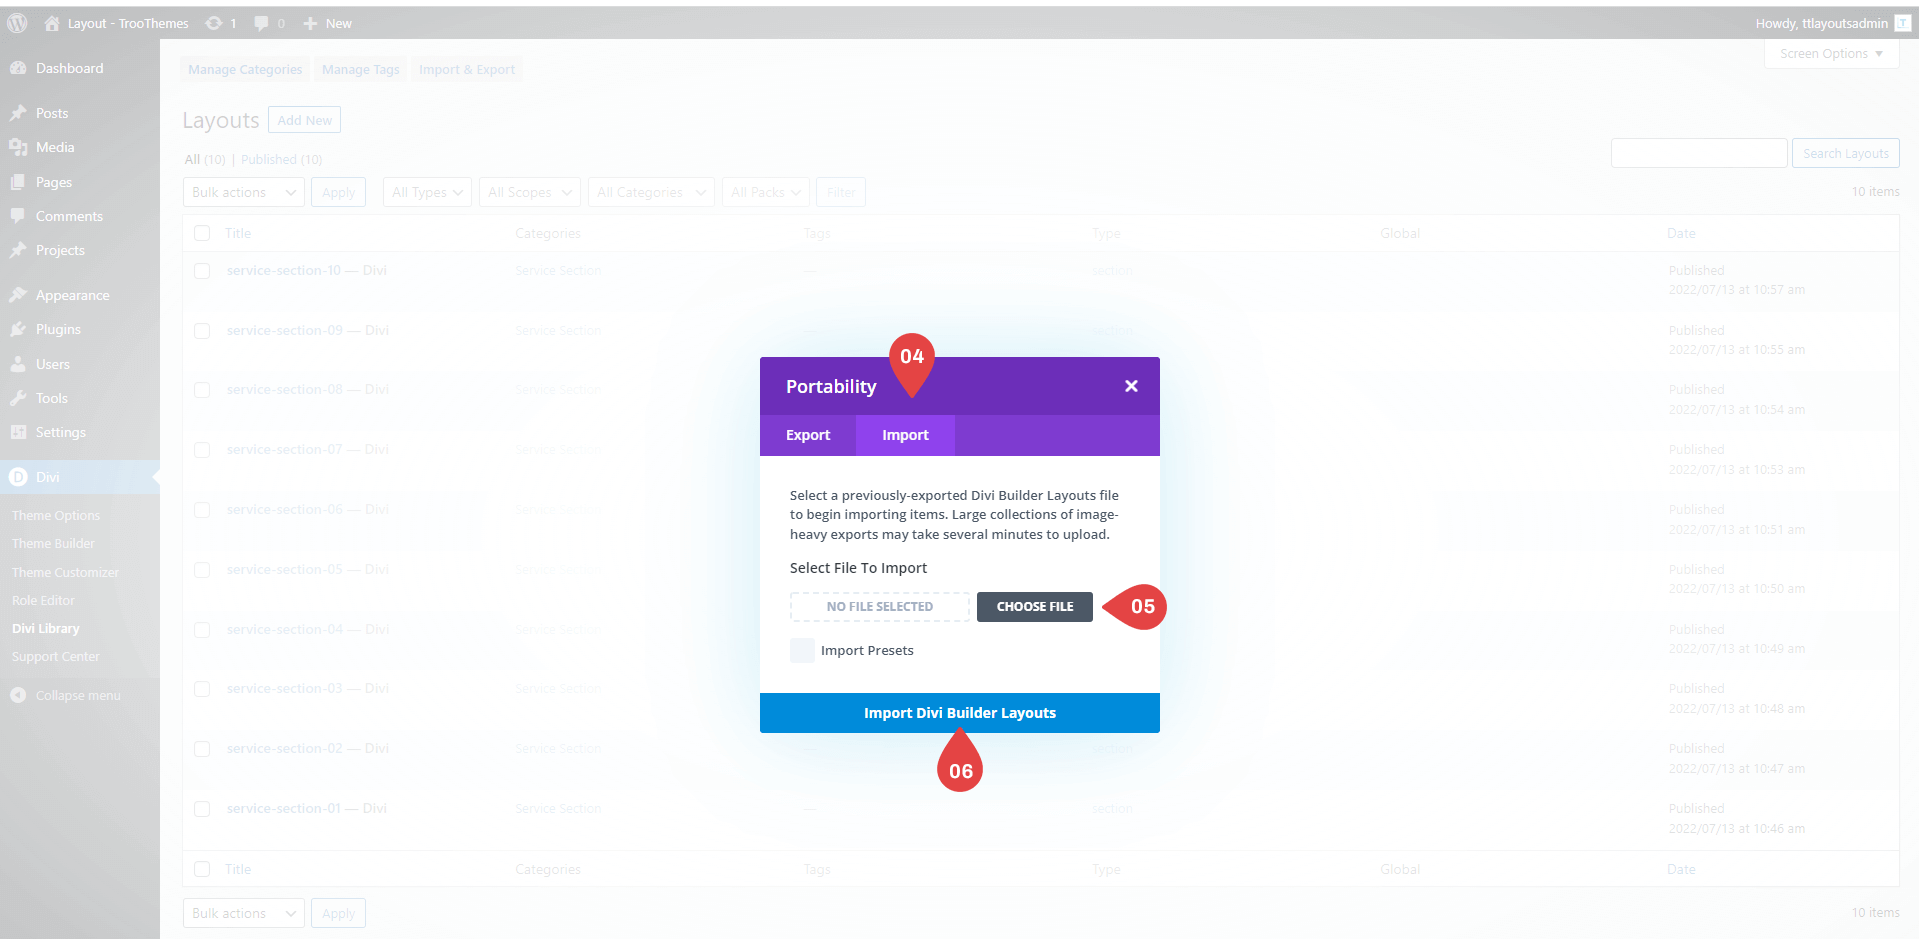
- Select the Import tab to reveal options.
- To upload all blog sections at once, choose all-blog-section-01-to-10 from the blog-section-bundle folder.
- To upload a single blog section, open the blog-section-bundle folder and select the specific section.
Step 2
Choose the (.json) file and Click on Import Divi Builder Layout.
Step 3
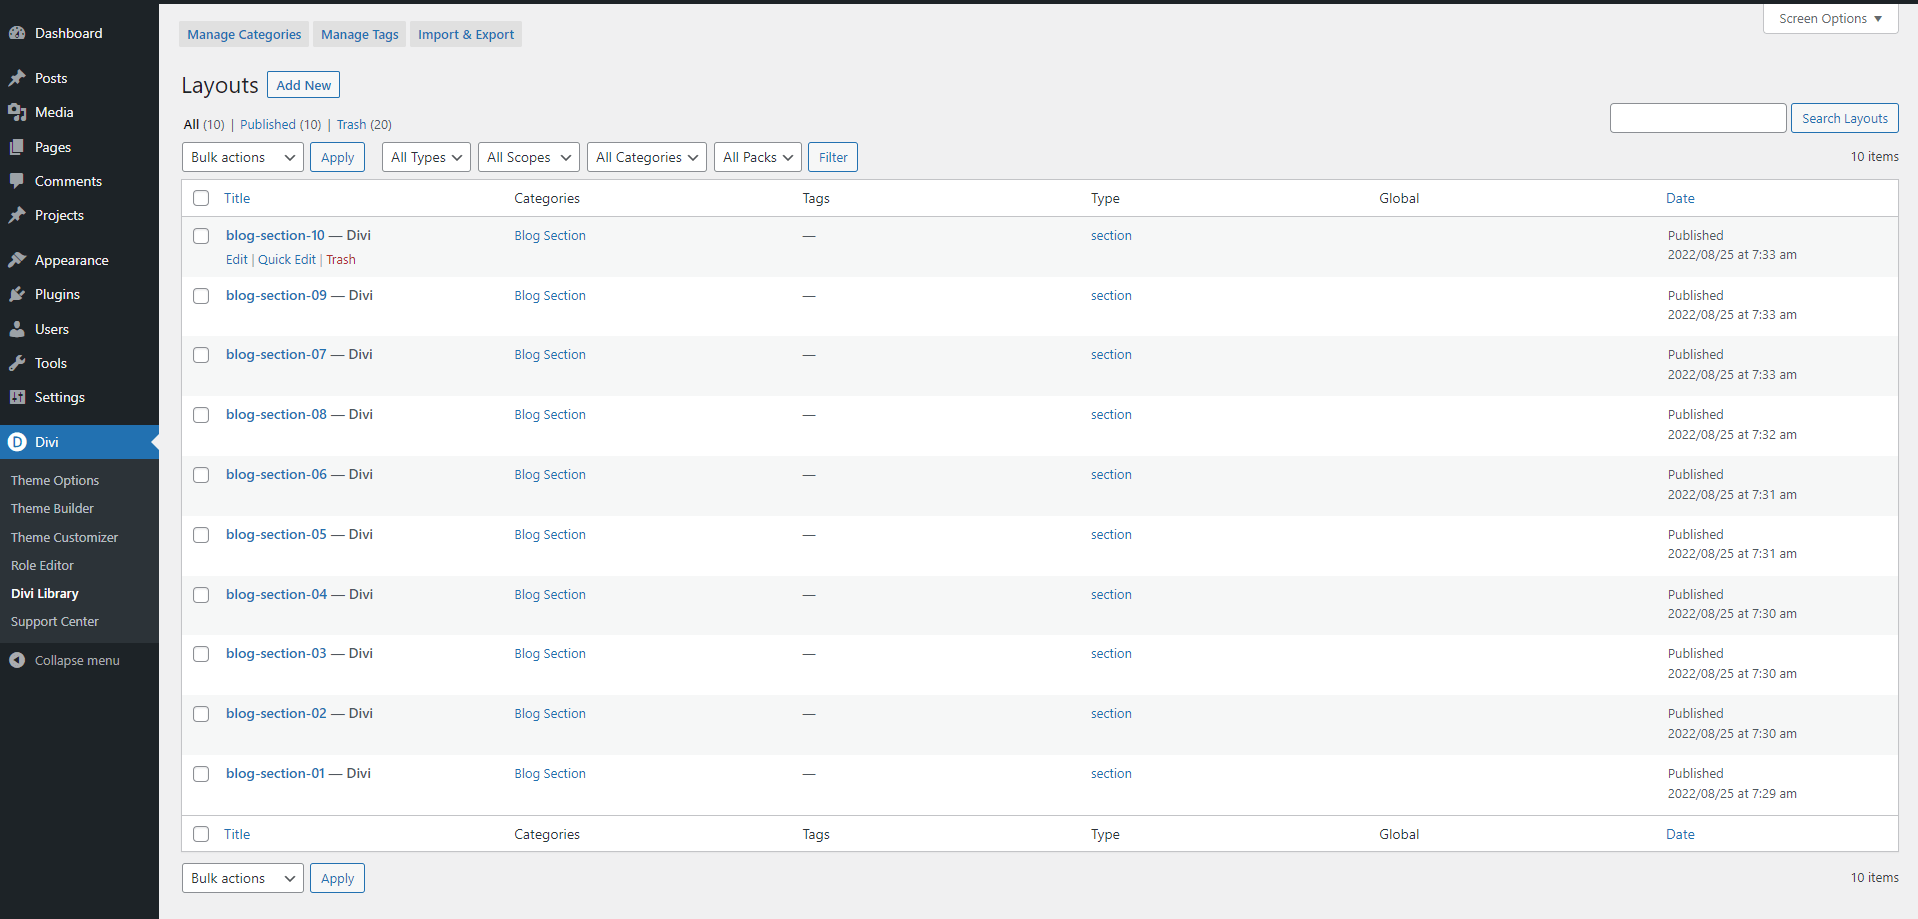
After importing all the blog section bundles you can see below.
Step 4
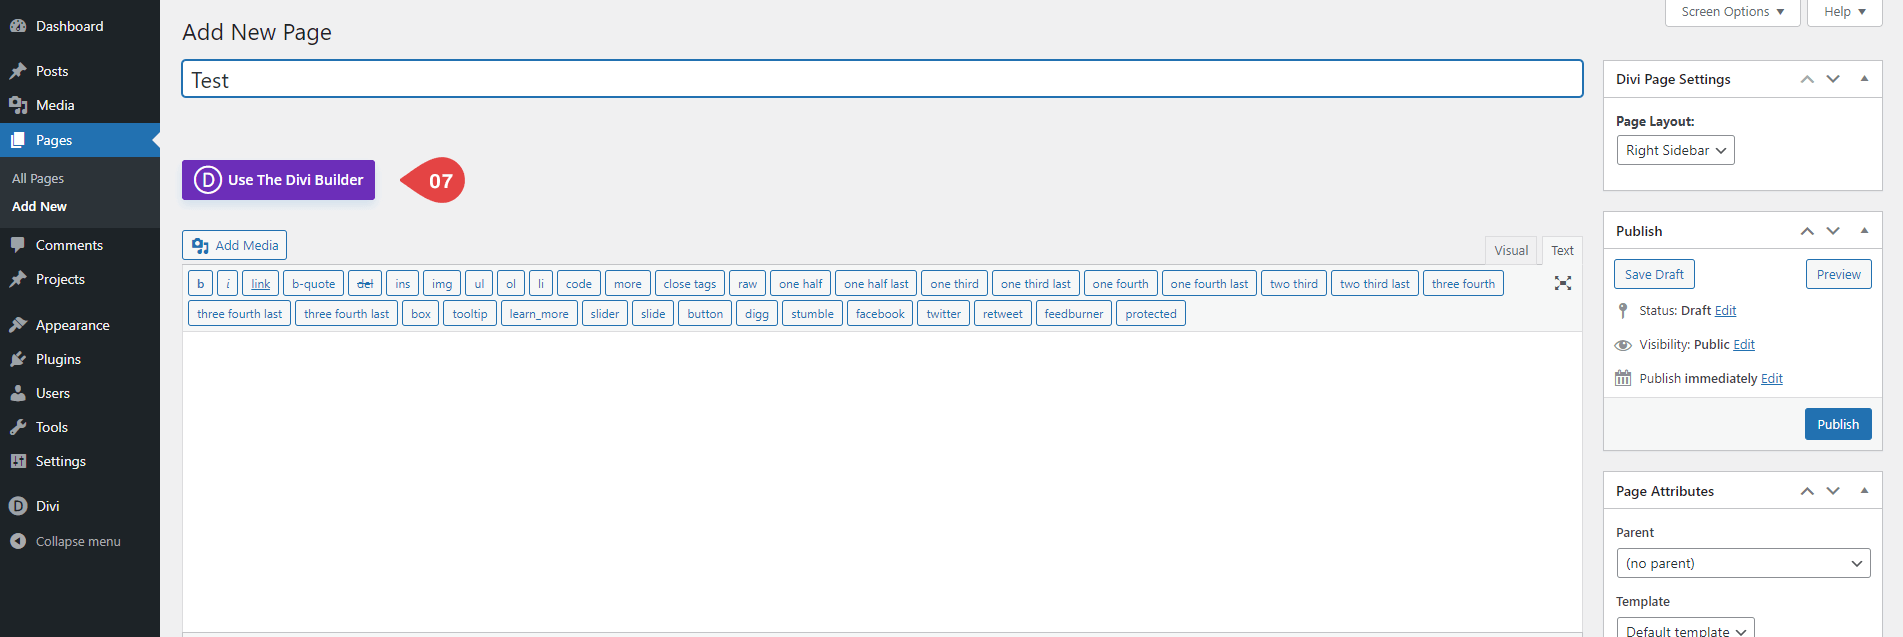
Create a new page with Divi Page Builder (Or Existing Divi Page Builder)
Step 5
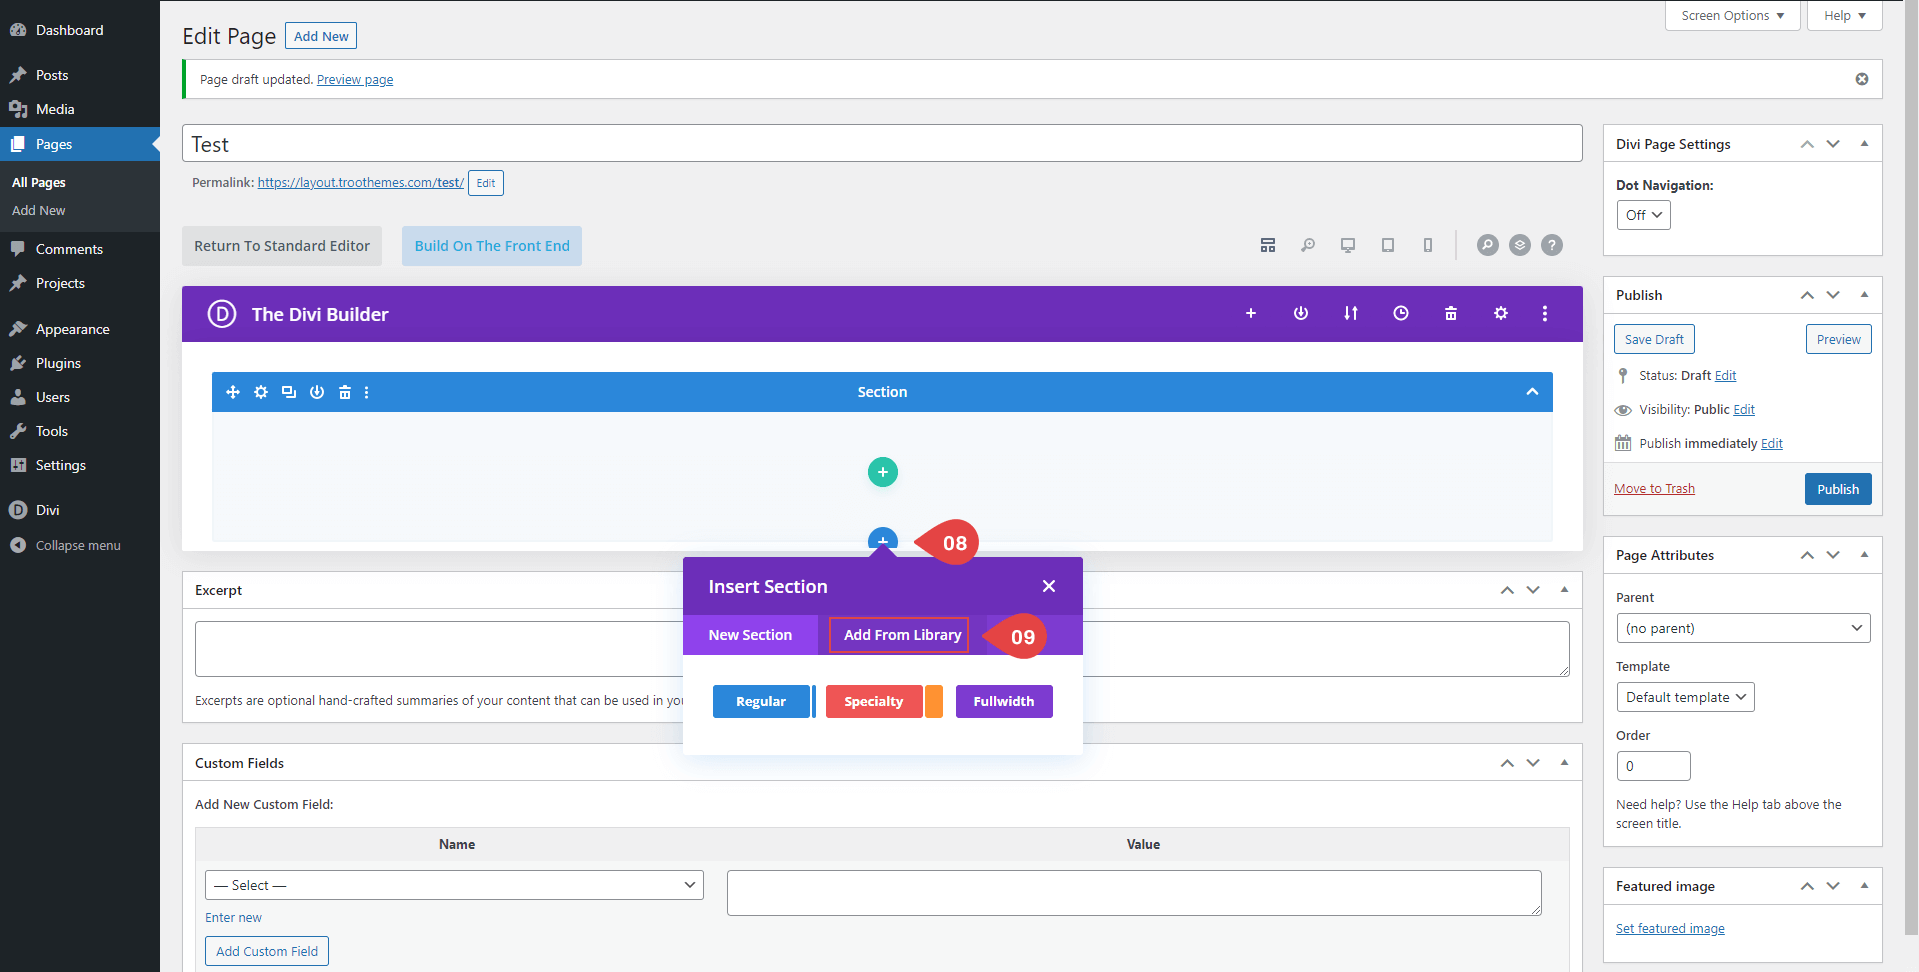
Add the section to a page using Add From Library method using the following steps when you are on the Divi page builder.
Step 6
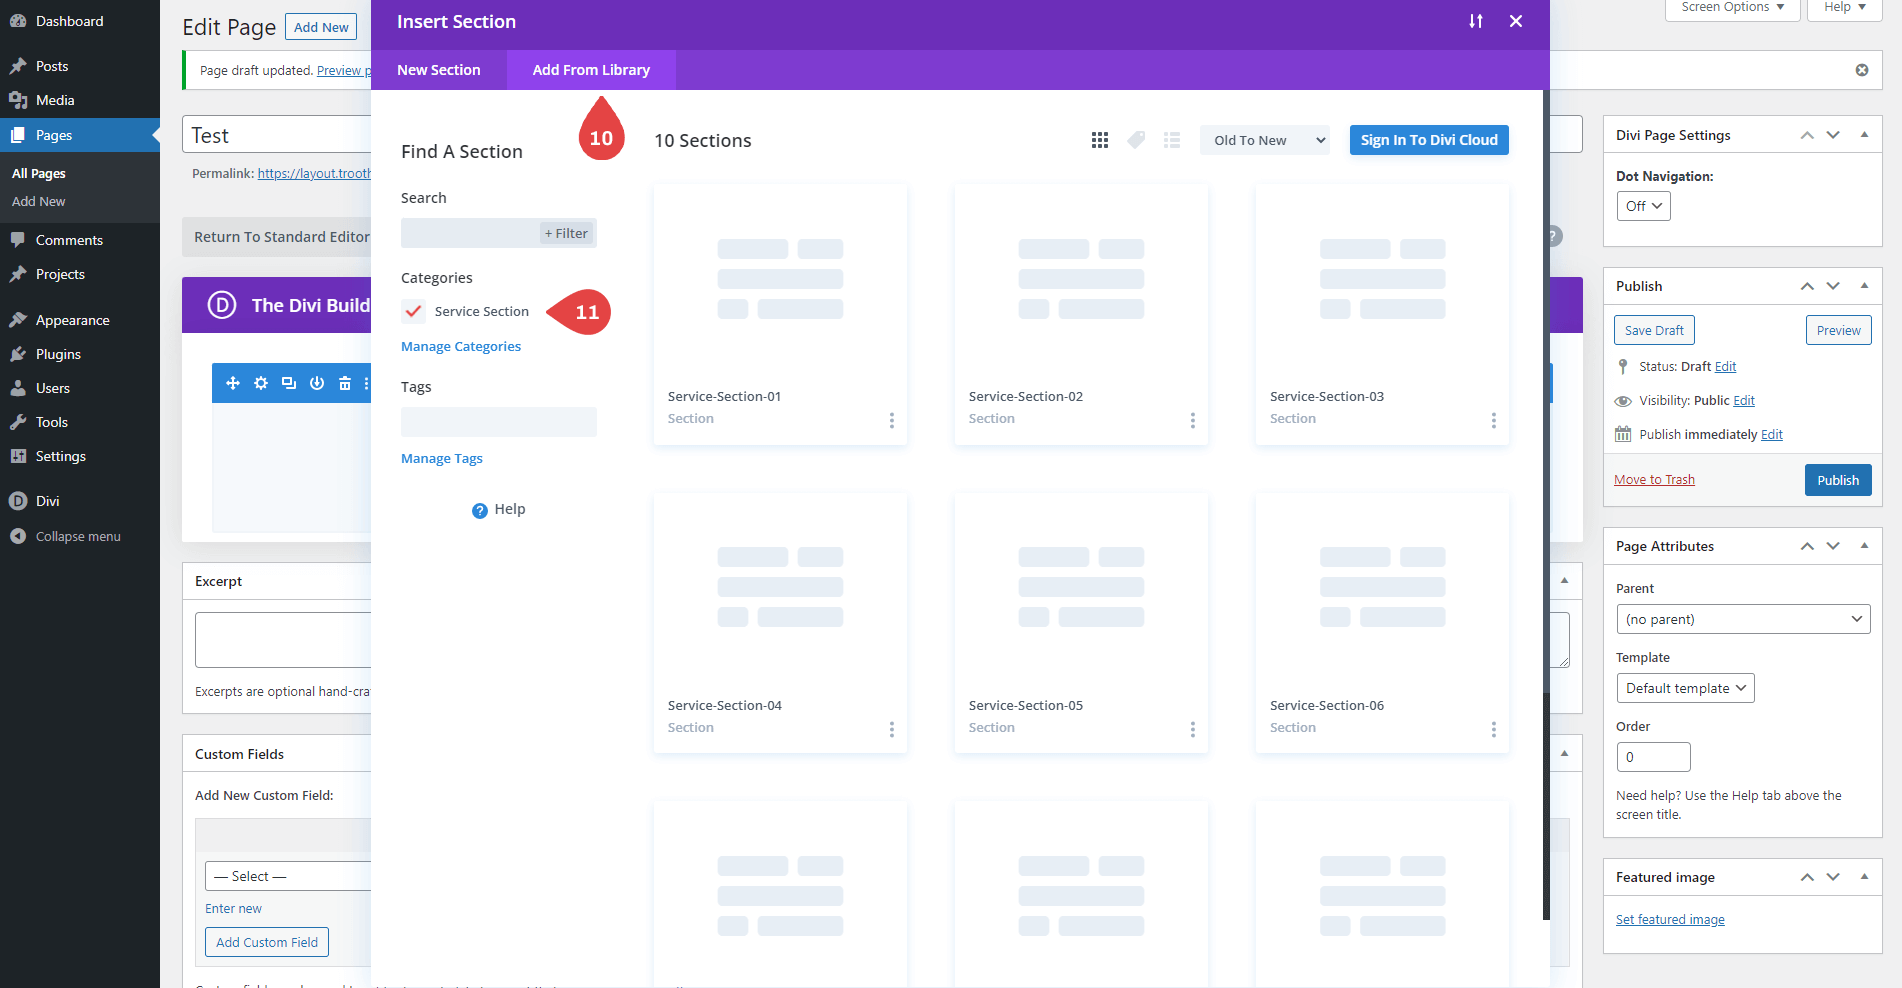
Choose the category blog section, select the desired blog section
Step 7
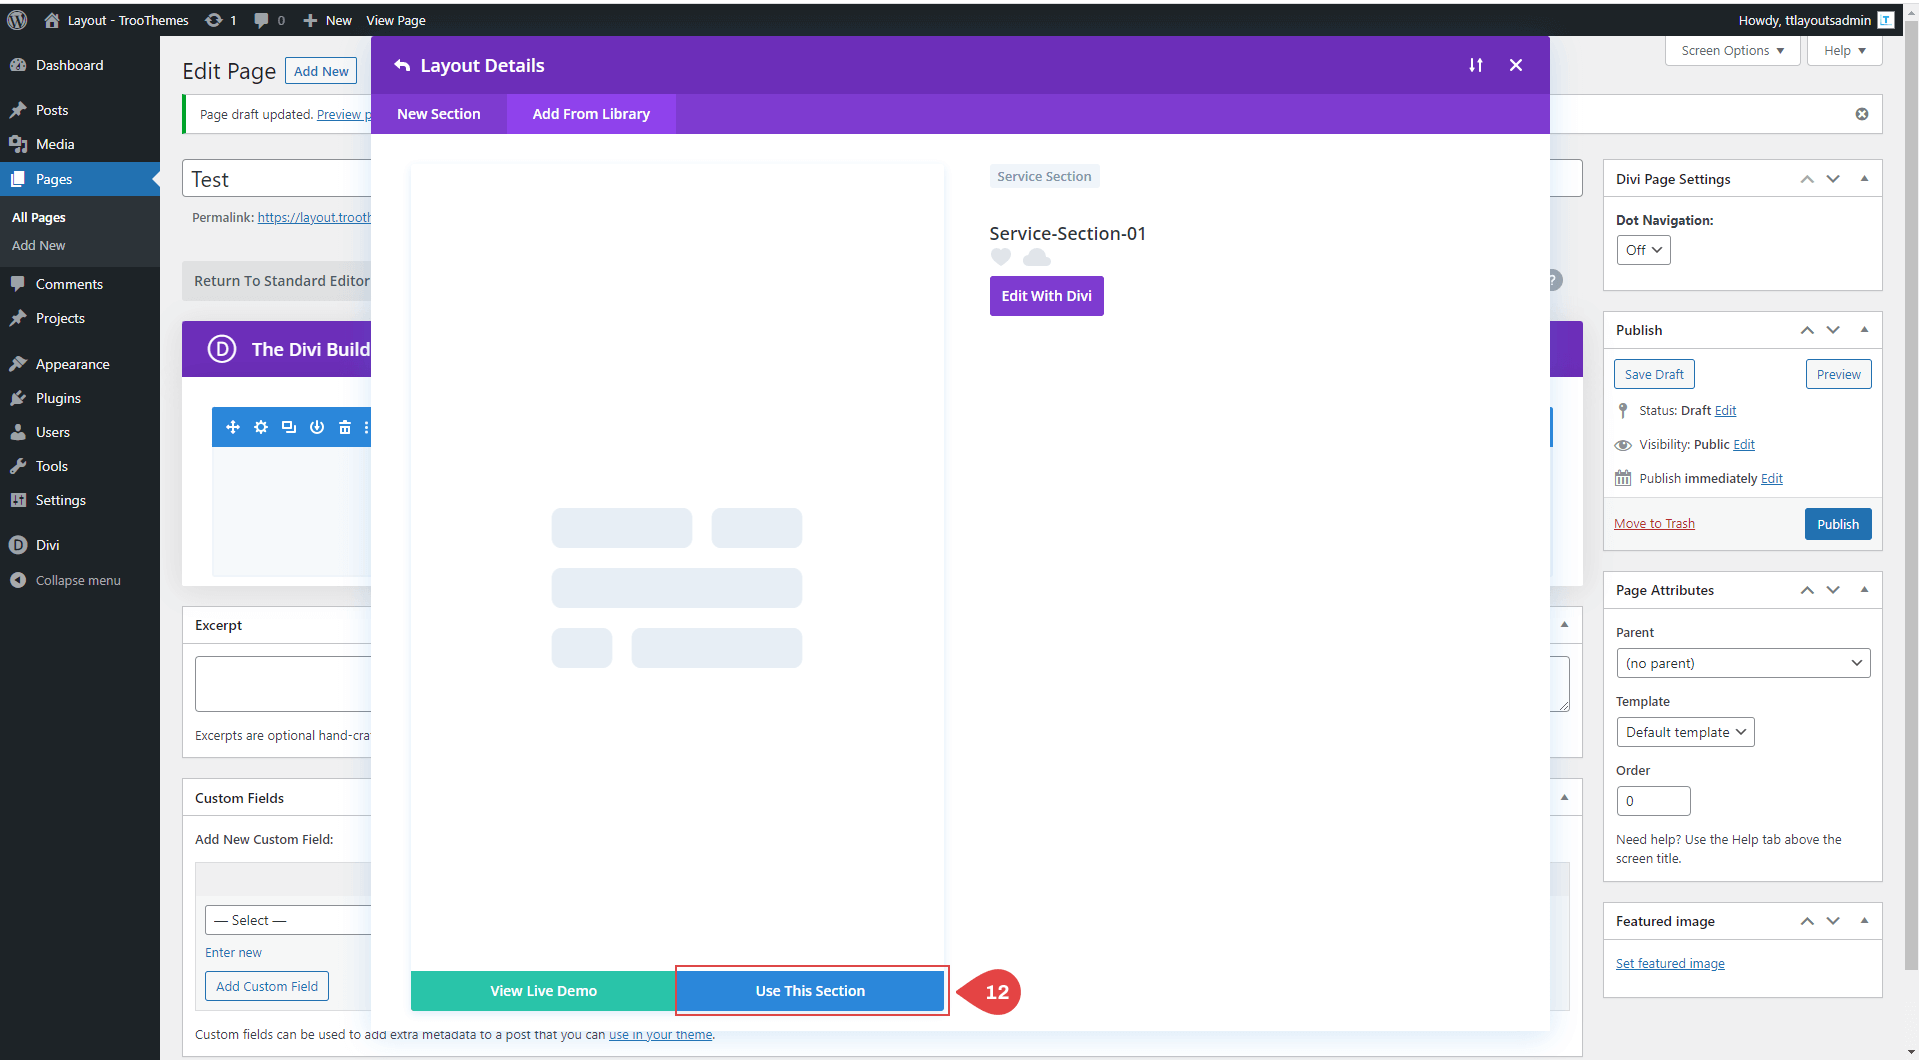
After that click on “Use This Section ” Button
Step 8
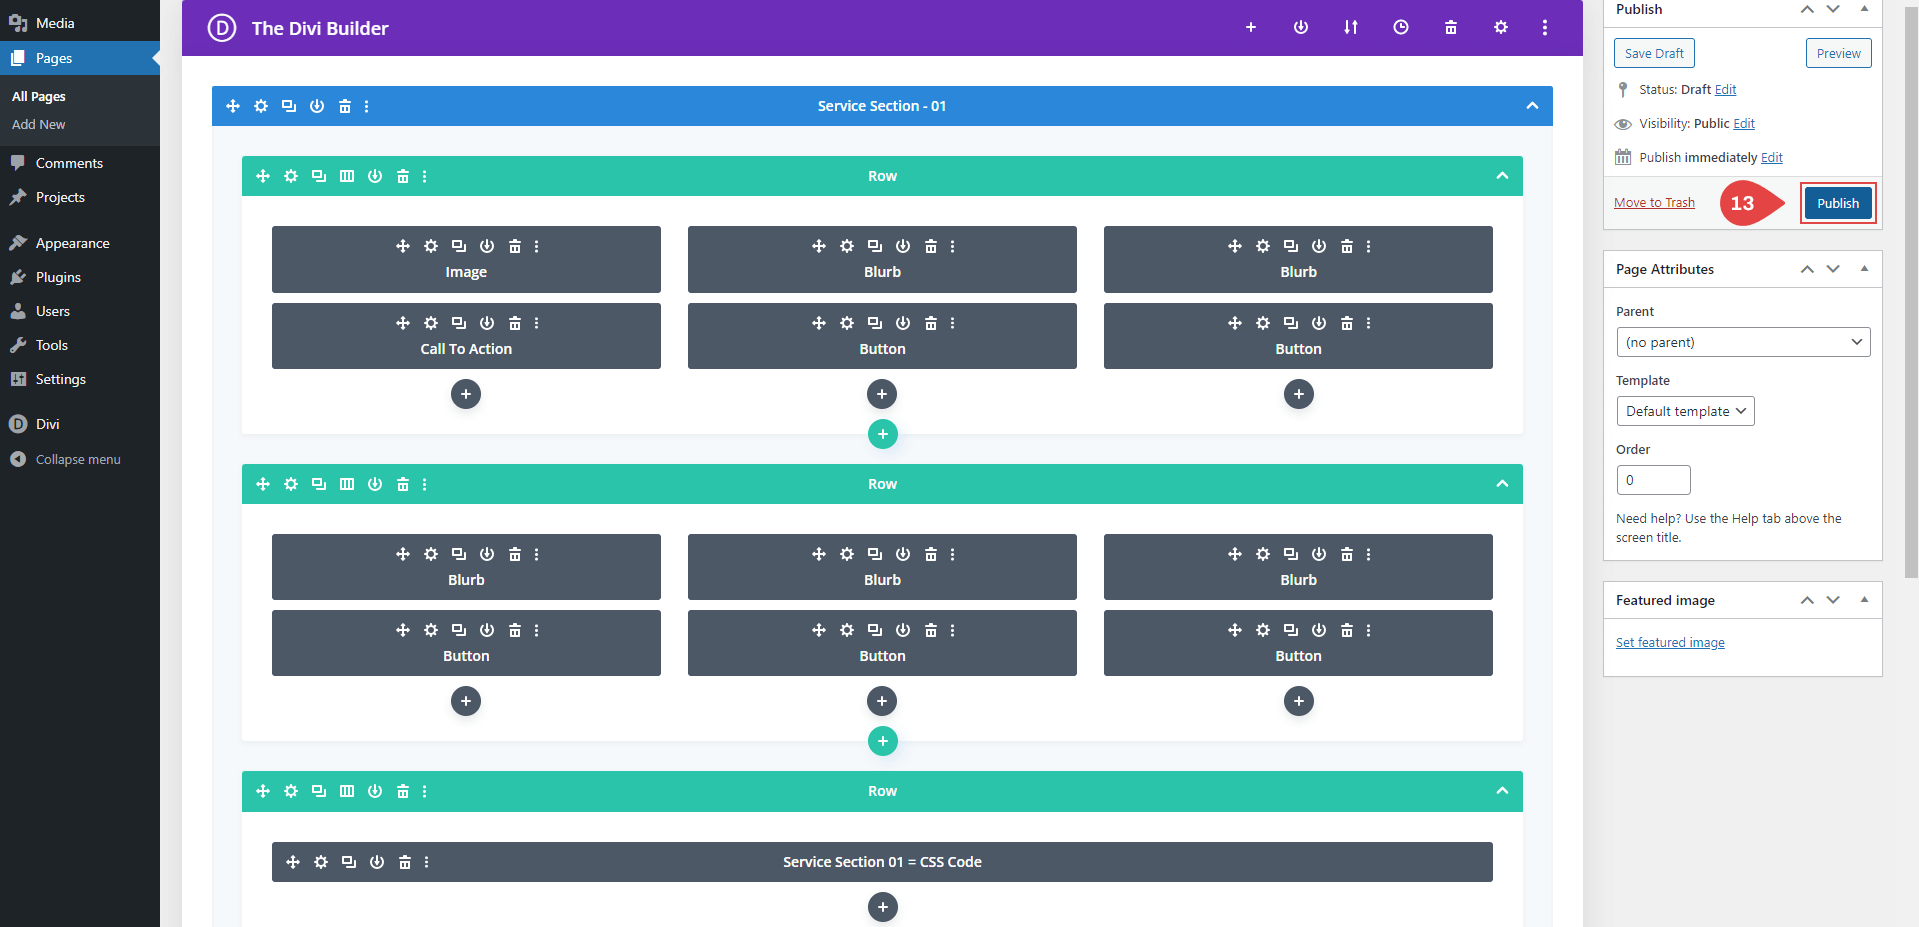
Finally you can see our section wire frame show and click on publish button
Frequently asked questions
Problems importing the layout?
If the importing process stops at 100%, or you have another problem, please make sure that you deactivate security plugins like Wordfence while importing. Then it should work fine. 🙂
Need Any Help?
If you have any documentation related questions or need a video tutorial sooner please let us know at support@troothemes.com
